Configure Nextcloud to Use Keycloak for User Authentication
Prerequisites: Ensure that Keycloak is deployed and configured as described in Keycloak Server Deployment and Keycloak Configuration, and that Nextcloud is installed and accessible.
This guide explains how to integrate Nextcloud with Keycloak using OpenID Connect, so LDAP users can authenticate through Keycloak and access Nextcloud with Single Sign-On (SSO).
1. Create a Keycloak Client for Nextcloud
-
Log in to the Keycloak admin console as the
adminuser and select theexample-ssorealm. -
From the left-hand menu, choose Clients.
-
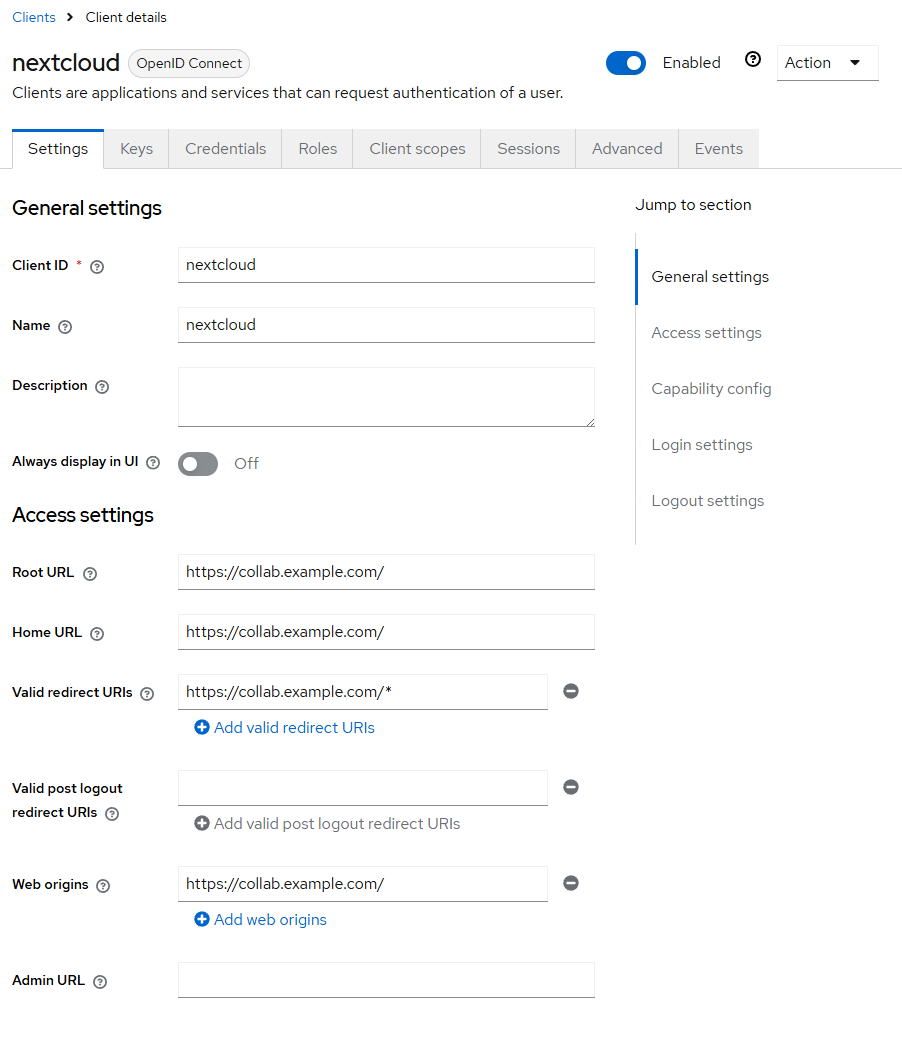
Click Create client and configure the following values:
- Client ID:
nextcloud - Client Protocol:
openid-connect - Client Authentication:
On - Standard Flow Enabled:
On - Direct Access Grants Enabled:
Off - Service Accounts Enabled:
Off
- Client ID:
-
Save the client.
-
In the client configuration, set the valid redirect URI to the URL shown by Nextcloud Social Login, for example:
https://collab.example.com/apps/sociallogin/custom/provider/nextcloud/callback -
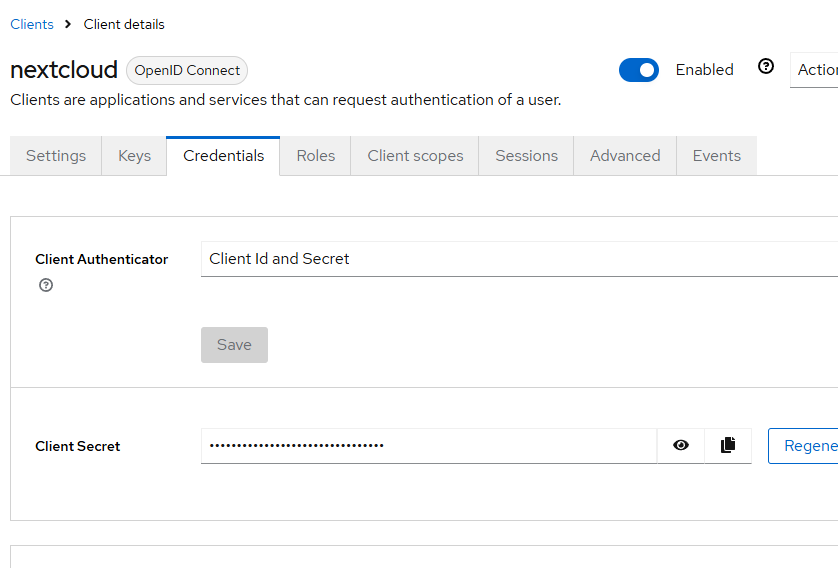
Go to the Credentials tab and copy the Client Secret for later.
2. Create a Nextcloud Client Scope
-
In Keycloak, click Client scopes from the left-hand menu.
-
Click Create client scope and enter:
- Name:
nextcloud-dedicated - Protocol:
openid-connect
- Name:
-
Save the client scope.
-
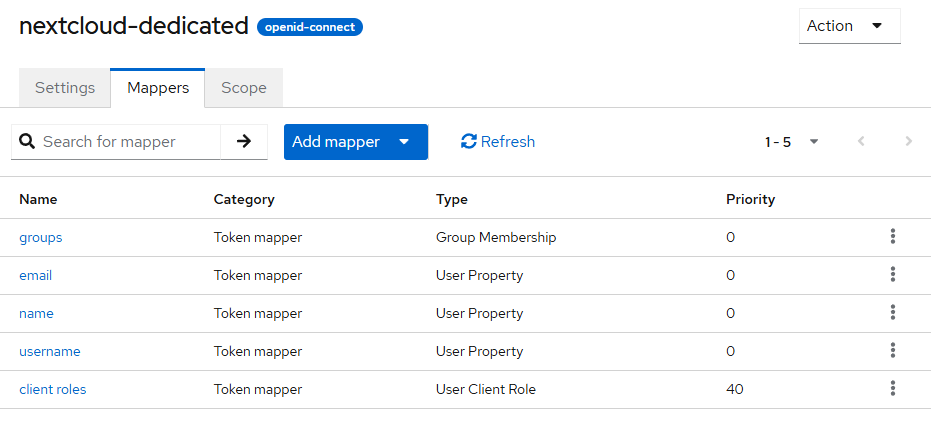
Select the new scope and open the Mappers tab. Add these mappers:
-
Name:
email -
Mapper Type:
User Property -
Token Claim Name:
preferred_username -
Claim JSON Type:
String -
Name:
username -
Mapper Type:
User Property -
Token Claim Name:
email -
Claim JSON Type:
String -
Name:
name -
Mapper Type:
User Property -
Token Claim Name:
name -
Claim JSON Type:
String -
Name:
client roles -
Mapper Type:
User Client Role -
Token Claim Name:
resource_access.${client_id}.roles -
Claim JSON Type:
String -
Client ID:
nextcloud
- Edit the
nextcloudclient and addnextcloud-dedicatedto the Client scopes section.
3. Configure Nextcloud to Use Keycloak
-
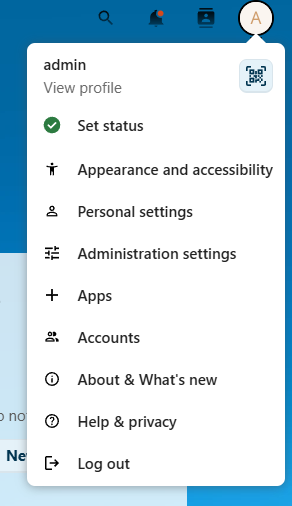
Log in to Nextcloud as an administrator and go to Apps.
-
Install the Social Login app if it is not already enabled.
-
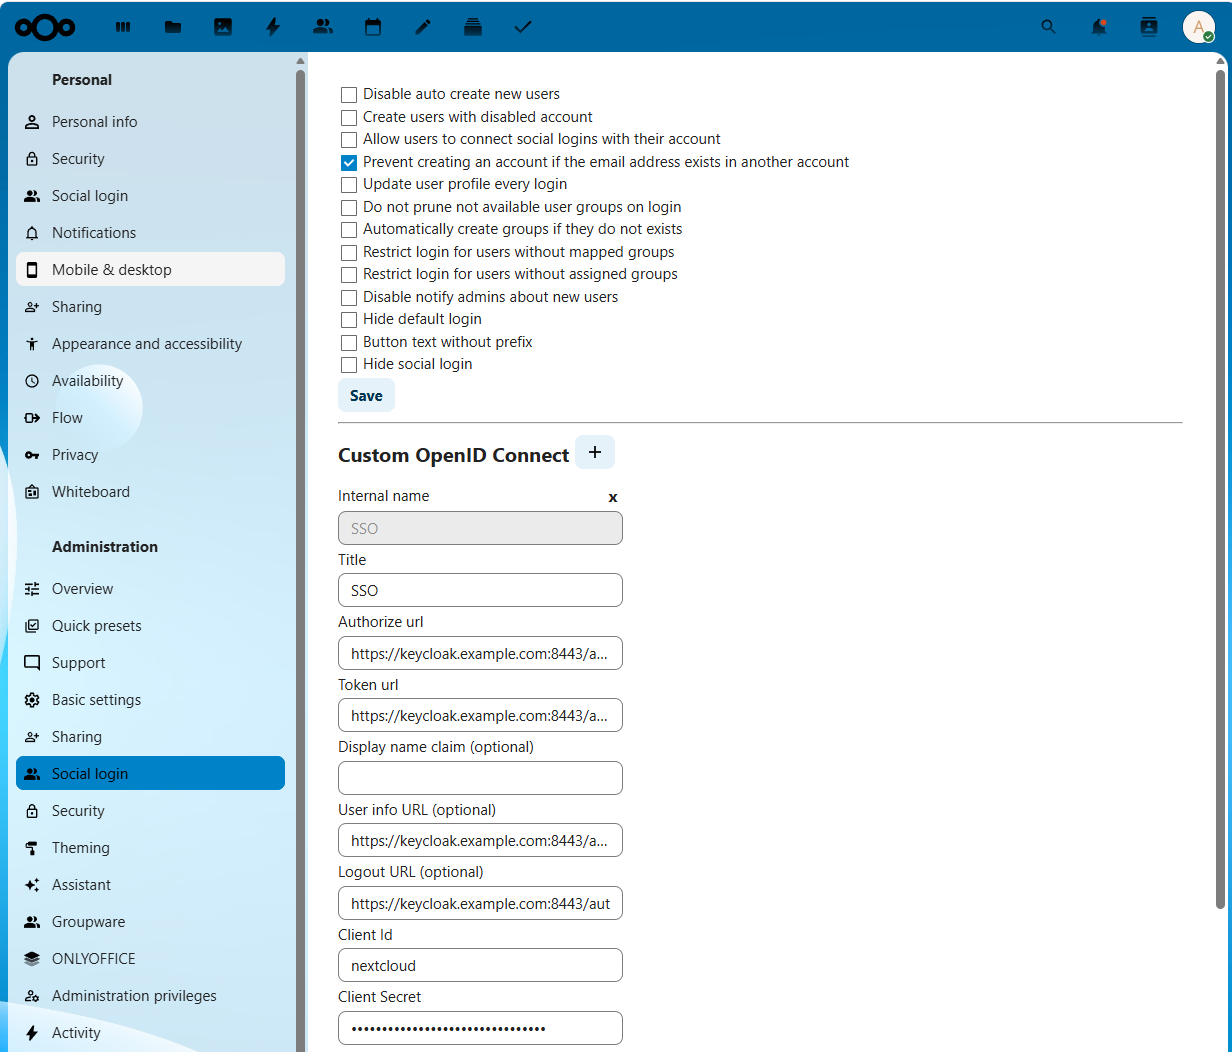
Open Settings > Social Login.
-
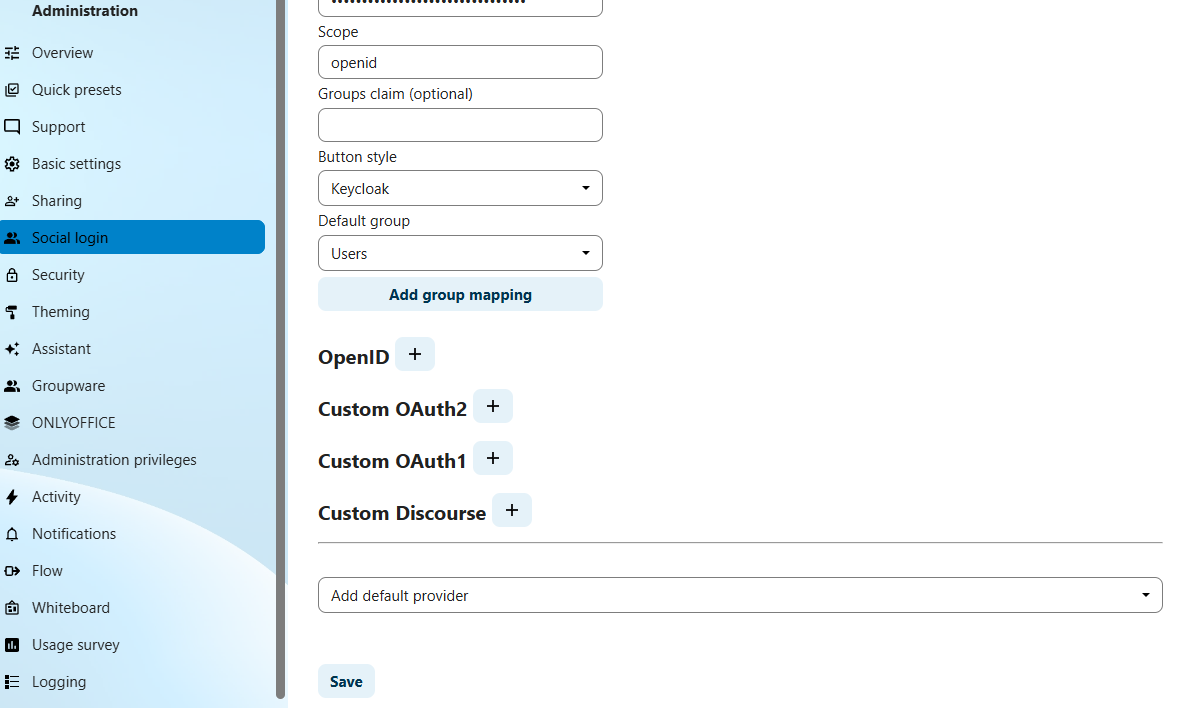
Add a new provider for Keycloak with the following values:
- Provider Name:
Keycloak - Discovery URL:
https://keycloak.example.com/realms/example-sso/.well-known/openid-configuration - Client ID:
nextcloud - Client Secret: (paste the secret from Keycloak)
- Scopes:
openid email profile - Username Attribute:
preferred_username - Email Attribute:
email - Name Attribute:
name
- Provider Name:
-
Save the provider configuration.
4. Verify User Login
-
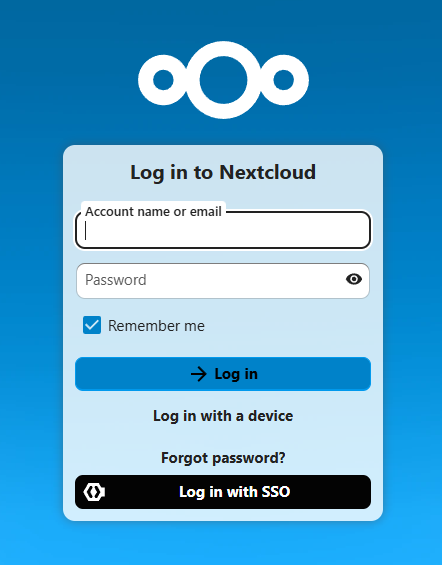
Visit the Nextcloud login page at
https://collab.example.com/. -
Confirm the Login with SSO button is visible.
-
Click the button and sign in with an LDAP user account from Keycloak (for example,
mailuser). -
After successful authentication, you should be redirected back to Nextcloud and signed in as the selected user.
5. Troubleshooting
- If login fails, verify the Keycloak redirect URI matches the Nextcloud callback URL exactly.
- Ensure the Keycloak client has Client authentication enabled and the client secret is correct.
- Confirm that the
openid,email, andprofilescopes are included in the provider settings. - Check the Keycloak client and user mappings for
emailandpreferred_usernamevalues.