Configure the Keycloak Server
1. Create a new Keycloak Realm
Login to the Keycloak server as the administrator user.
Navigate to the "Manage realms" button on the left menu.
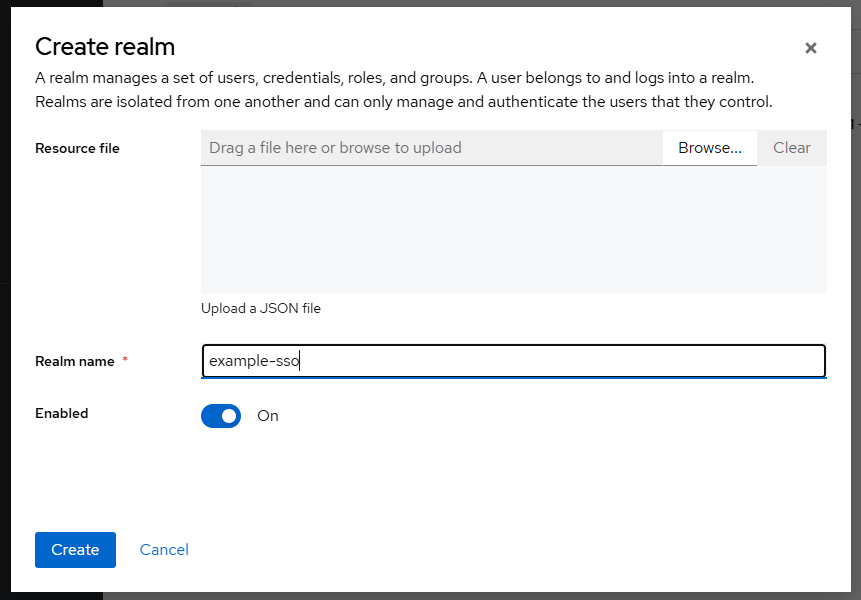
Once the Realm is added, click back on the manage realms button and click on the newly created realm (example-sso) to set it as the "Current realm". The new realm name should appear on the top left of the menu bar in the Keycloak UI.
2. Associate the ldap with the keycloak
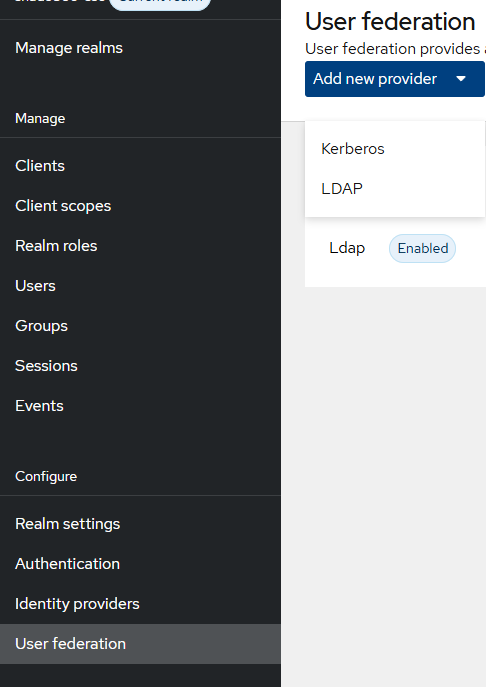
Login to the Keycloak server as the administrator user and select the (example-sso) realm. From the left hand menu, select the "User federation" option.
From the "Add new provider" menu select the 'LDAP' option.
Make the entries as below with the appropriate passwords according to the configured ldap.
Make sure the "Test connection" and "Test authentication" are returning successfully
Update the LDAP searching and updating values as below.
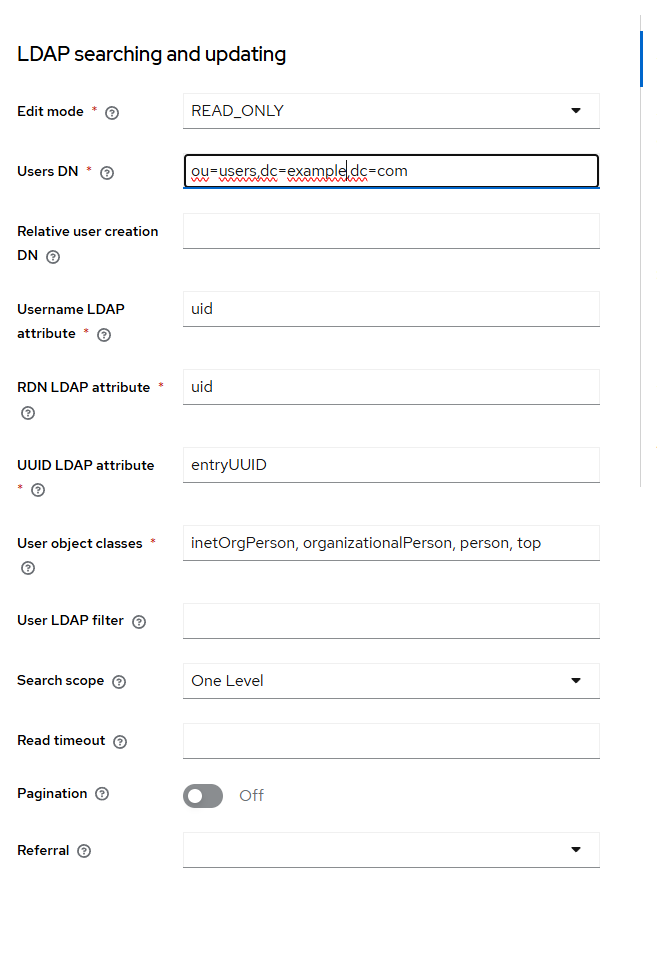
Save the settings and from the "Action" menu on the right side, click on the "Sync all users" to update all the users into the Keycloak.
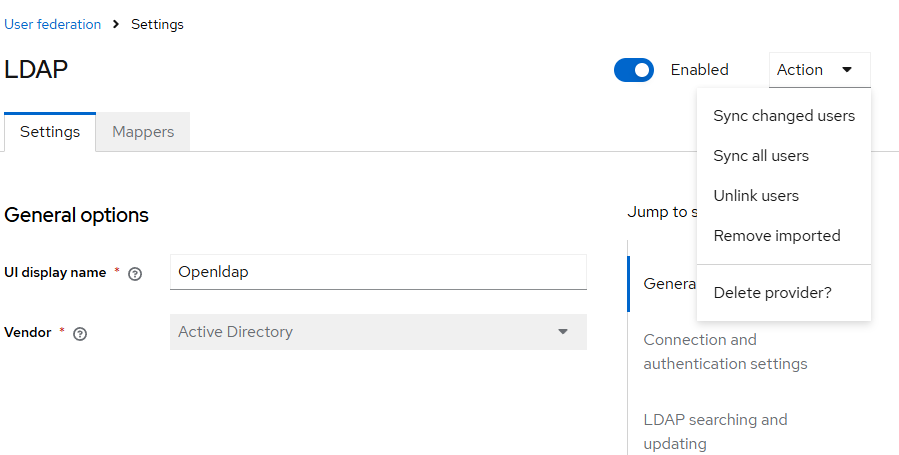
2.1 Verify that the users are synced
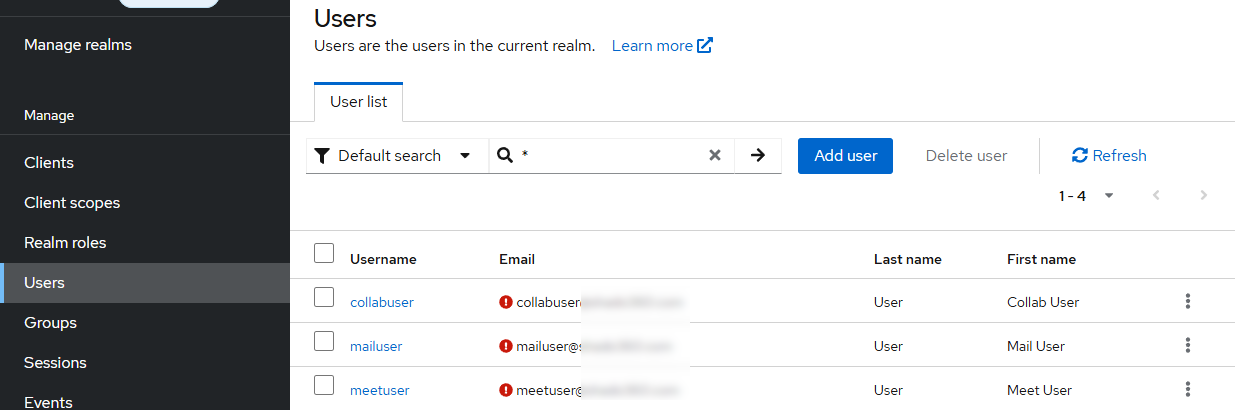
From the left hand menu, select the users and in the search box enter "*", this should list all the users create in the ldap.
3. Customizing the Keycloak SSO login screen
3.1 Create the Custom Theme Directory Structure
Review the following documentation to customize the login screen using new themes.